Contest Graphics
| Construction: |
Concept Sketch.....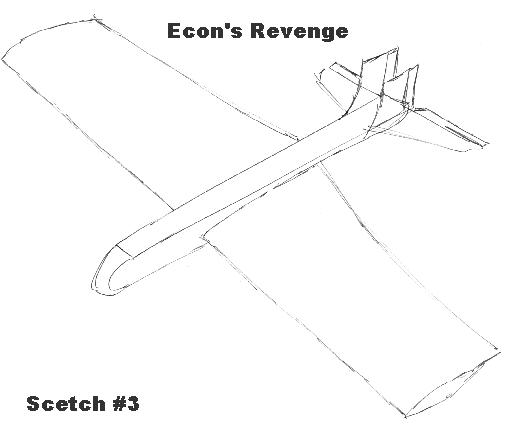 |
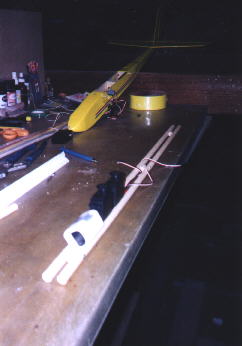 Awesome dowel design, shown above, has proven to be very ridged
& strong.
|
Frame is made of two dowels screwed together to form a 30"
structure. This picture shows the frame from the tail side with the
battery, servos, and receiver in place. I originally thought that
I would leave the shown opening to allow for a third servo or ballast for
heavy wind conditions. The final plane design does not have this
feature. The fuse is pictured here upside-down.
|
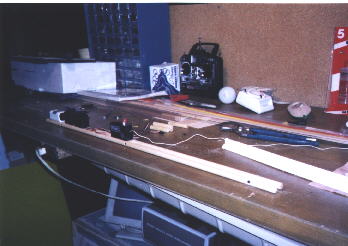
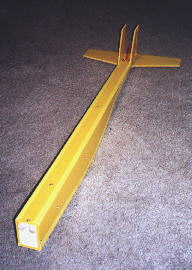 Notice dowels at top of fuse. Servos, receiver and
battery are mounted upside-down.. Fuse is constructed of corrugated
plastic.
|
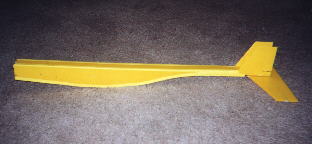 Here is a side view of the fuse. There are only five
pieces of plastic used to build fuse, and all tail feathers.
|
" T " bar reinforced build-up wing shown here.
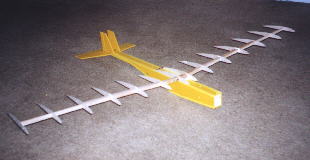
|
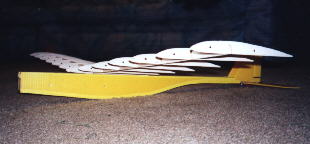 Side view of the 48" wing, showing dihedral. Using
modified SD7032 Airfoil.
|
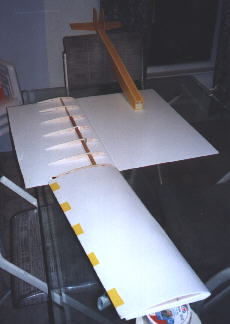 Wrapped, glued and taped corrugated plastic over build-up
wing. It's TOUGH!
|
All but the nose cone shown here. Isn't she sweet!
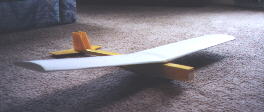 The GRAVE DIGGER is ready....
Better get prepared!
|
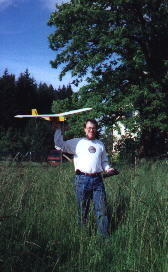 First test flight for the Grave Digger.
|
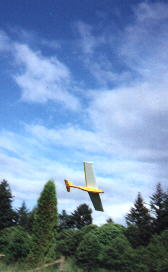 In the backyard coming in for a landing. Man....is
she fast!
|
Catching some air on our first time out.
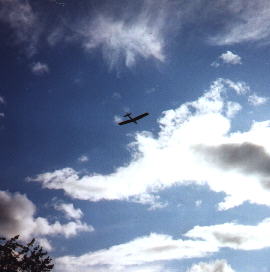
|
Flight results suggested I go back to the drawing board.
The plane is too heavy...I would need very strong winds to sustain flight.
The Grave Digger is built like a tank but flies like a brick! Ouch.
|
Combat Model
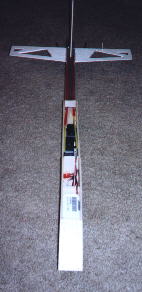 I did not take pictures of any construction prior to this photo.
I built it so fast I forgot I needed to take pictures. The design
is altogether different, using balsa to form the pod and a clear plastic
tube for the boom.
|
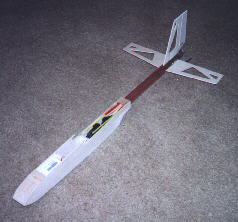
I removed balsa material from the tail feathers to lighten the
tail of this plane. It helped reduce weight considerably. The
plane was balanced very well all during construction. As you will
see in all the phtos, it balances near CG....I did not have to prop-up
the tail at any time.
|
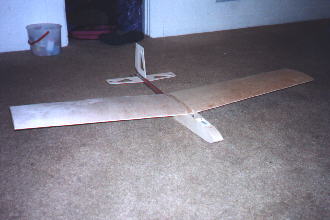 Here you can see the sheeted wing. I considered just
staining the wing due to it's cool wood grain. The wing is the same
as before with the prototype except I used different covering materials.
Same Airfoil, same dimensions, same dihedral.
|
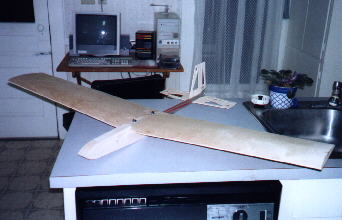 Here's a photo with a completed tail section and hatch. It
also shows the wing bolted onto the fuse. All sanding has been completed
in this photo. Covering is next.
|
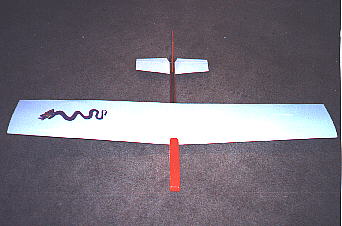
The completed model. She is very fine! I moved the
wing back a couple inches, shortened the fuse about two inches, increased
the control surfaces substantially and lightened the plane to 26ozs overall.
|
Maiden flight was not so good. Flying conditions were very
poor. I flew for only a few seconds before crashing and knocking
off part of the elevator. This was a major design flaw which has
been corrected.
Her second flight was unbelievable! A 35 minute flight time
recorded, multiple launches, with as many landings and no impact to structure.
She flies smoooooth! Has plenty of lift with low/moderate wind conditions.
Actually flew some thermals this day.
I'm Ready!.....What about you?
|
|
|
|
|
Day of the Contest
The wind conditions were poor, it was hot (100+) and there
was no area to land.
 The standard pose just before flight.
|
My flight while waiting for the rest of the competition to get
airborne

|
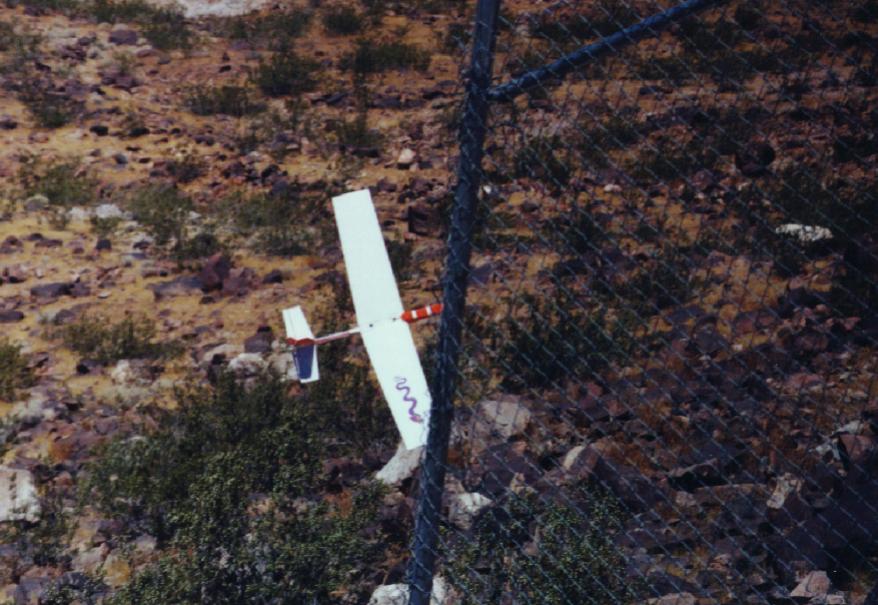 Getting a bit close to the side of the hill, just missing the chain
link fence.
|
Misc.:
 Me and my new
Radio. Futaba 6XA computer radio. What will I do with all those
extra channels? Me and my new
Radio. Futaba 6XA computer radio. What will I do with all those
extra channels? |
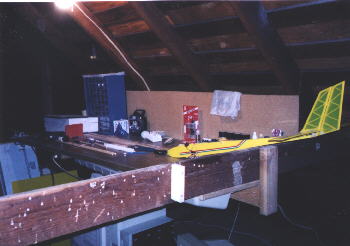
My workbench! It works for me.
|
|
| |
|
|
Back to "RC Sail Planes"
Comments |


 Me and my new
Radio. Futaba 6XA computer radio. What will I do with all those
extra channels?